Using resin bases. by Panic...
This is a quick write up of how I used resin bases in a Moria Goblin Project.
I used the resin bases for a few reasons.
- 1st - asthetics
- 2nd - Speed to complete the bases
- 3rd - extra weight to the models (moria goblins are horribly light)
Warning please read the instructions provided when using resin bases.
Please read all info provided on the websites where you buy the resin.
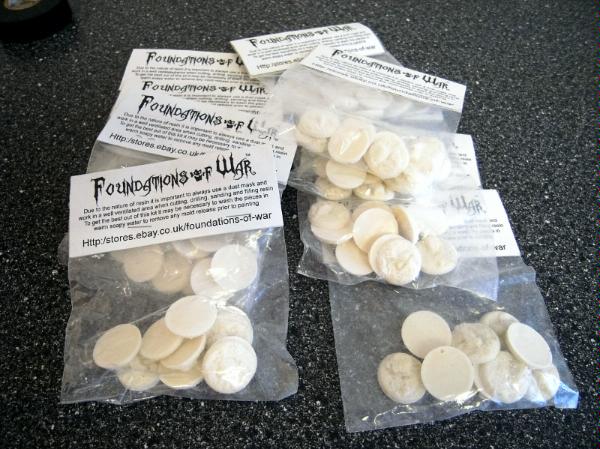
I purchased my bases from Foundations of War. They have an Ebay shop too.
For information on what other resin bases are available, check out this article on Buying Resin Bases.
Preperation.
You really have to wash resin products.
This is to get rid of dust and oily release agent on the surface of the product.
If you don't wash the resin you will find that your paint peels off when rubbed/picked up.
This is because the paint isn't stuck to the resin it's stuck to the release agent.
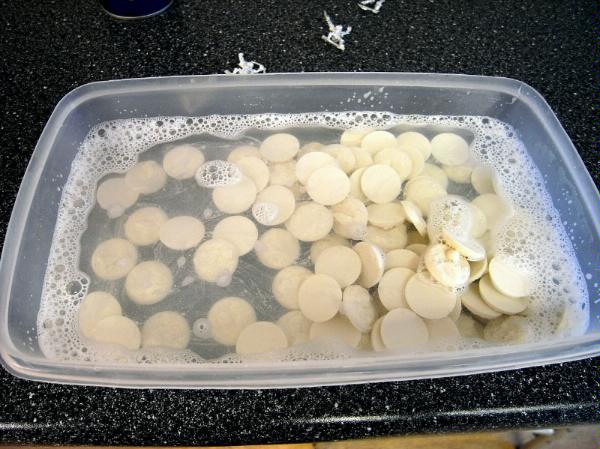
I left them for a couple of hours to dry.
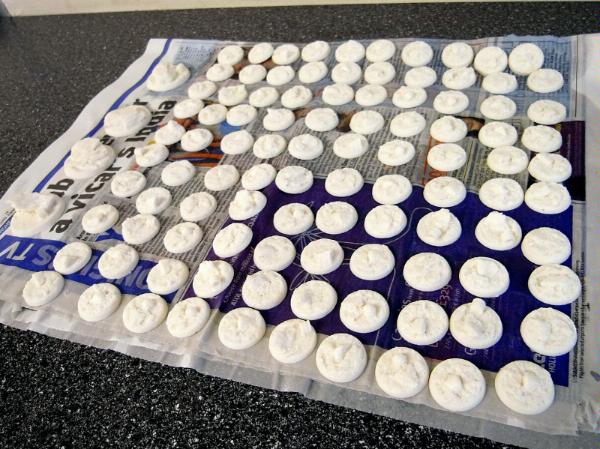
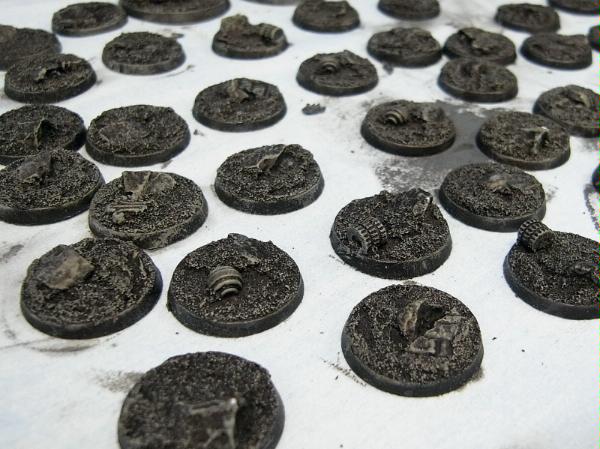
Painting
I painted the bases really quickly with little attention to detail.. you can achive better results if you take your time... my goal was speed.
Sprayed black... (I sprayed again after this picture was taken)
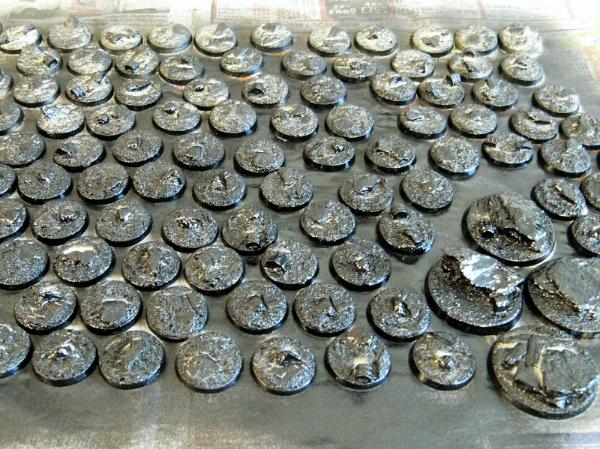
Drybrushed Citadel Foundation Paint Adeptus Battle Grey
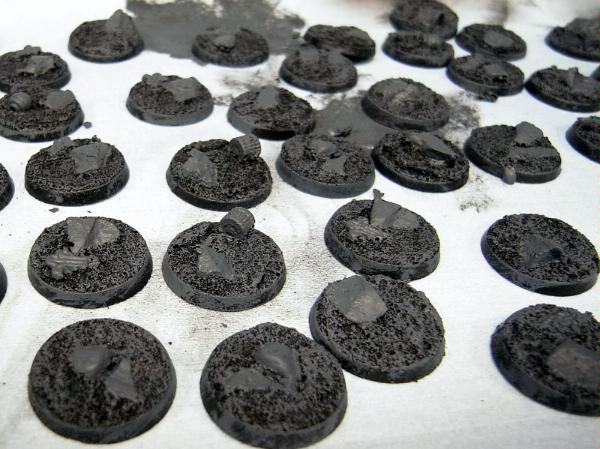
Drybrushed Citadel Foundation Paint Astronomican Grey
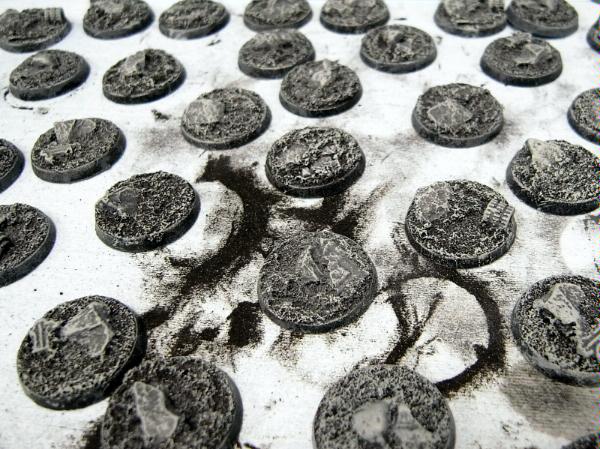
Heavily Loaded with Citadel Wash Badab Black
Fixing Model to the resin Base
I fixed each goblin with superglue and a pin through one leg.
Drilling the goblin.
I drilled though the goblin's heel into his leg.
Depending on the model, and what was required for the base, goblins got drilled through the front or rear leg...
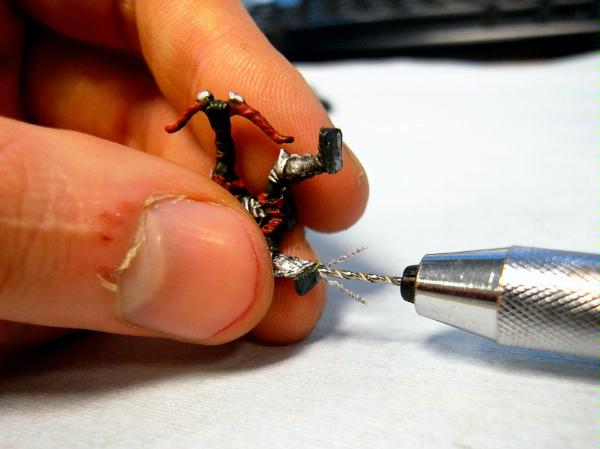
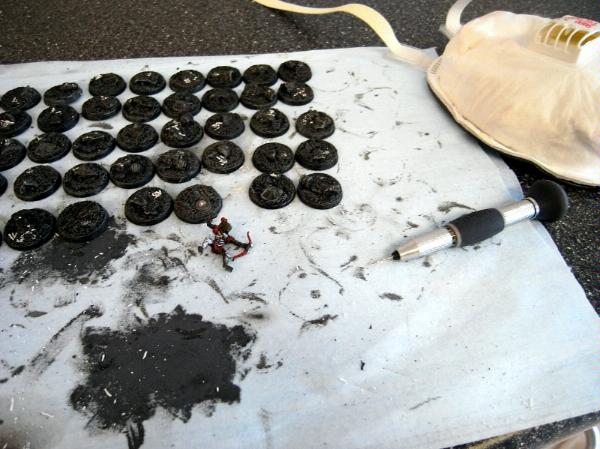
Drilling the resin bases
Warning: When drilling resin use a dust face mask (pictured).
I placed a hole in each base about 5mm from the edge using a test model to see how the model will stand on the terrain.
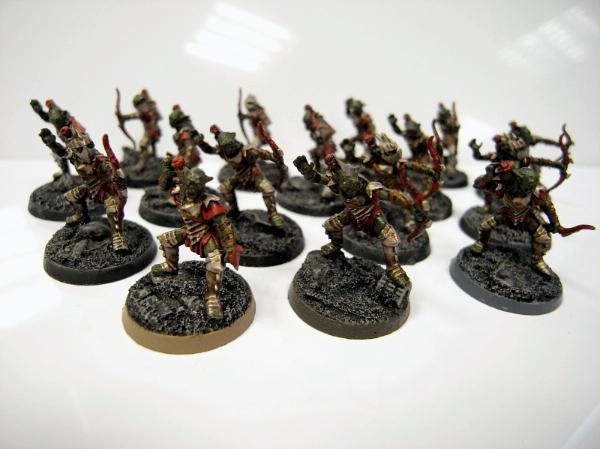
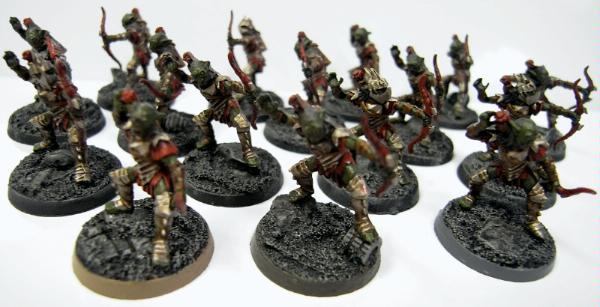
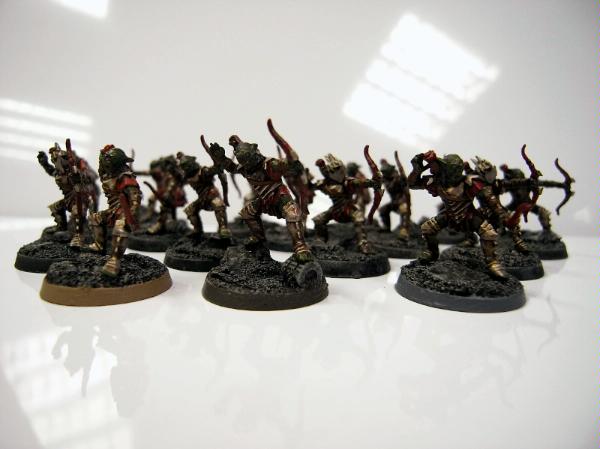
Finnished Result
Paint the base rims and it's done!
(I haven't decided on which colour the trim should be- I'll update this article with a new picture once I've decided)
Panic...